How we document a job site, step by step
No formal daily-report software, no folders to babysit. This is the whole habit: create the job once, capture as you work, and export a clean record when someone asks. Here is exactly how it looks.
The five-step loop
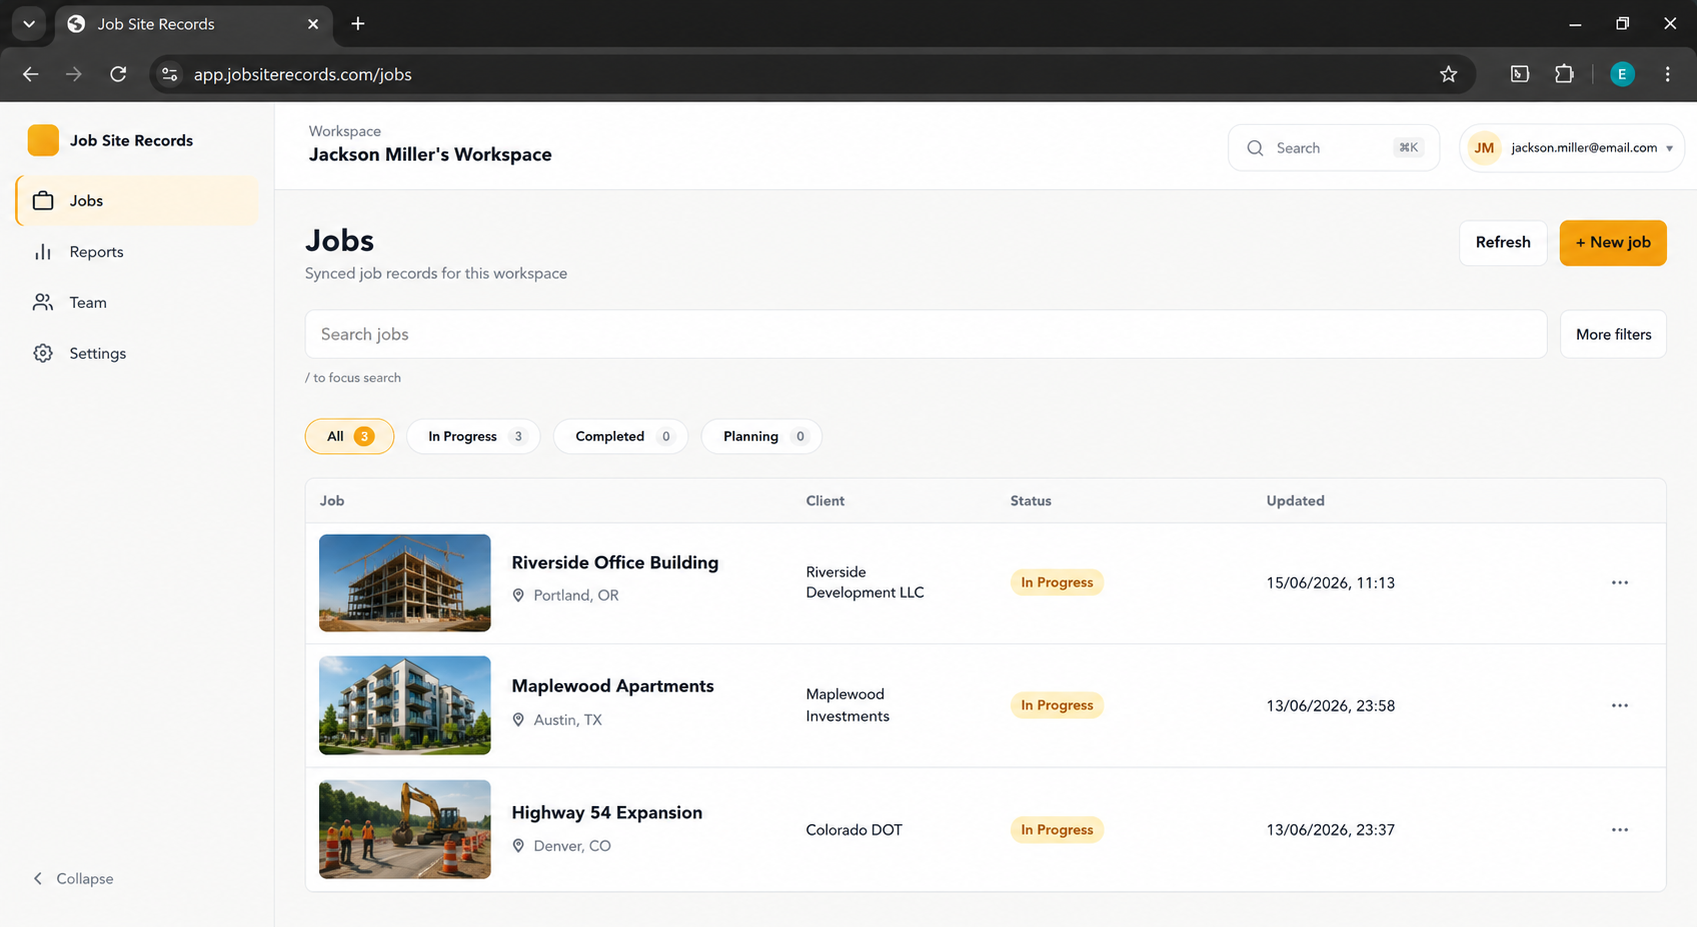
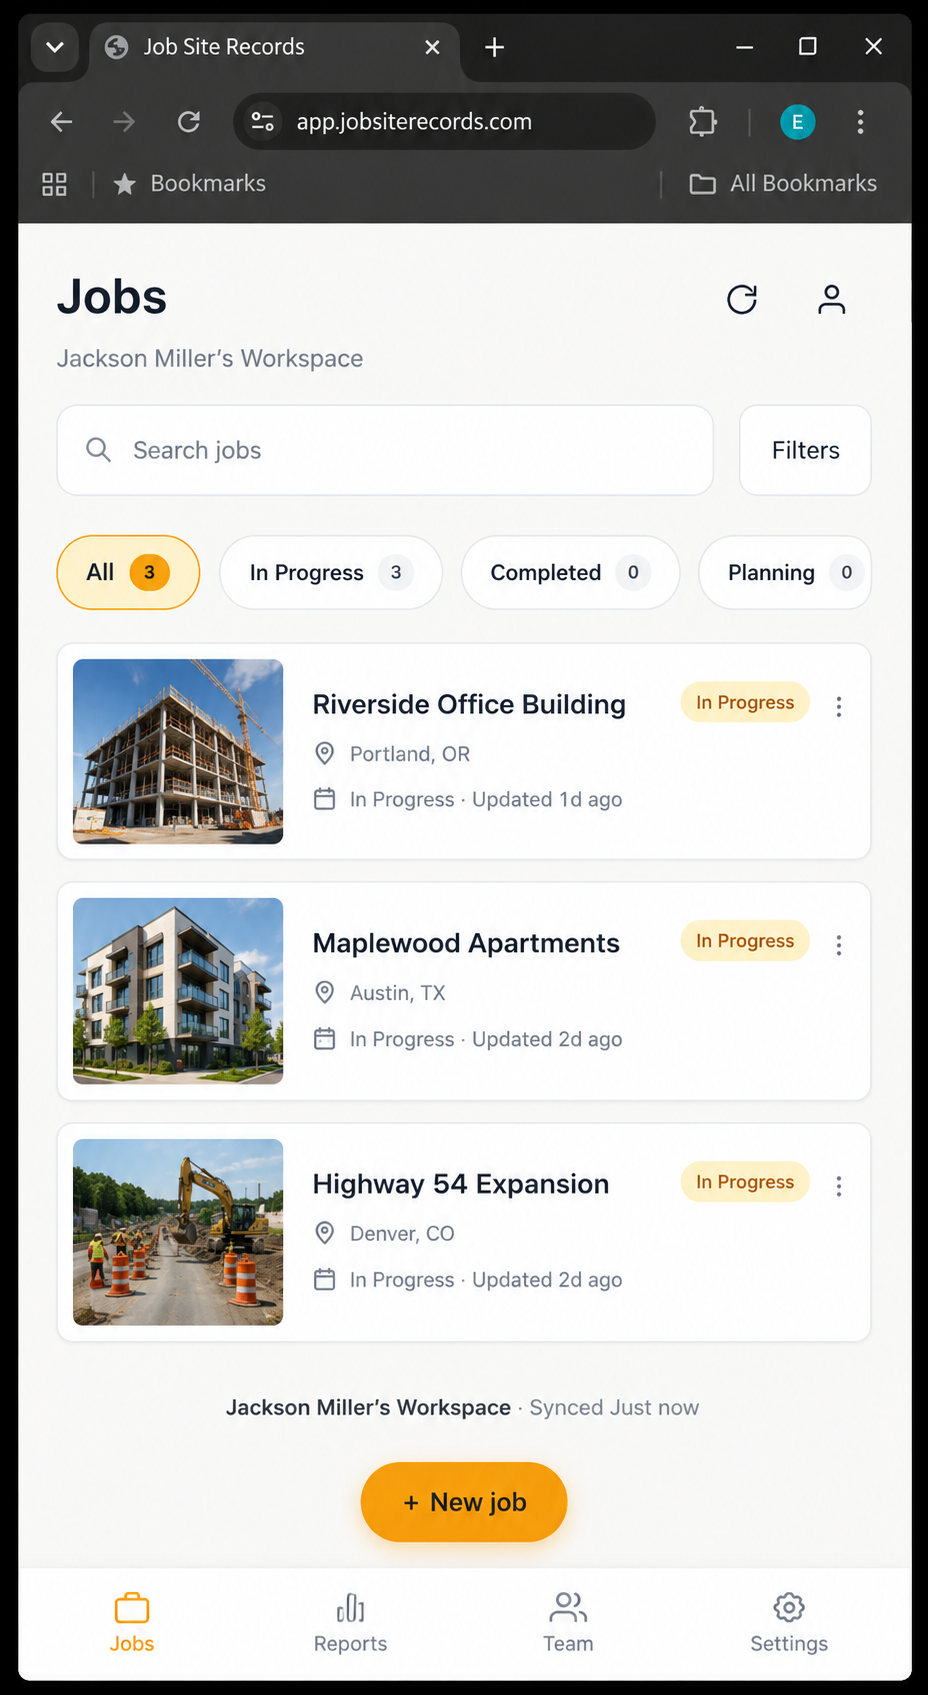
- Create the job once. Make a job for the project (name, client, address, job number). Every photo, note, and file you capture afterward lands under that job — no folders to organize later.
- Capture as you work. Tap photo, voice, text, or file. Shoot a room in a burst, then add a shared caption and tags (Before, Issue, Receipt, Change Order) once when you stop. Voice notes catch what you would forget by the truck.
- Let the timeline build itself. Items group by date automatically, newest first, so "what happened on this job and when" is the default view — not something you reconstruct from a camera roll.
- Mark up what matters. Circle the cracked tile or arrow the leak right on the photo. The original is preserved; the marked-up version travels with your export.
- Export a clean record. When a client, GC, or insurer asks, export selected items as a zip: photos (annotated + original), notes, files, and an index.html anyone can open. No account, no app required on their end.
Why this order works
Documentation fails when it is a separate task at the end of the day. By making the job the container and capture a two-tap habit, the record builds itself while you work. The export step is the only thing you do on demand — and because it is a plain zip with an index.html, the person receiving it never needs your app or an account.
Try the workflow
Job Site Records is free, offline, and account-less for local use. Get on the early-access list and we will invite you in waves.
Request early access